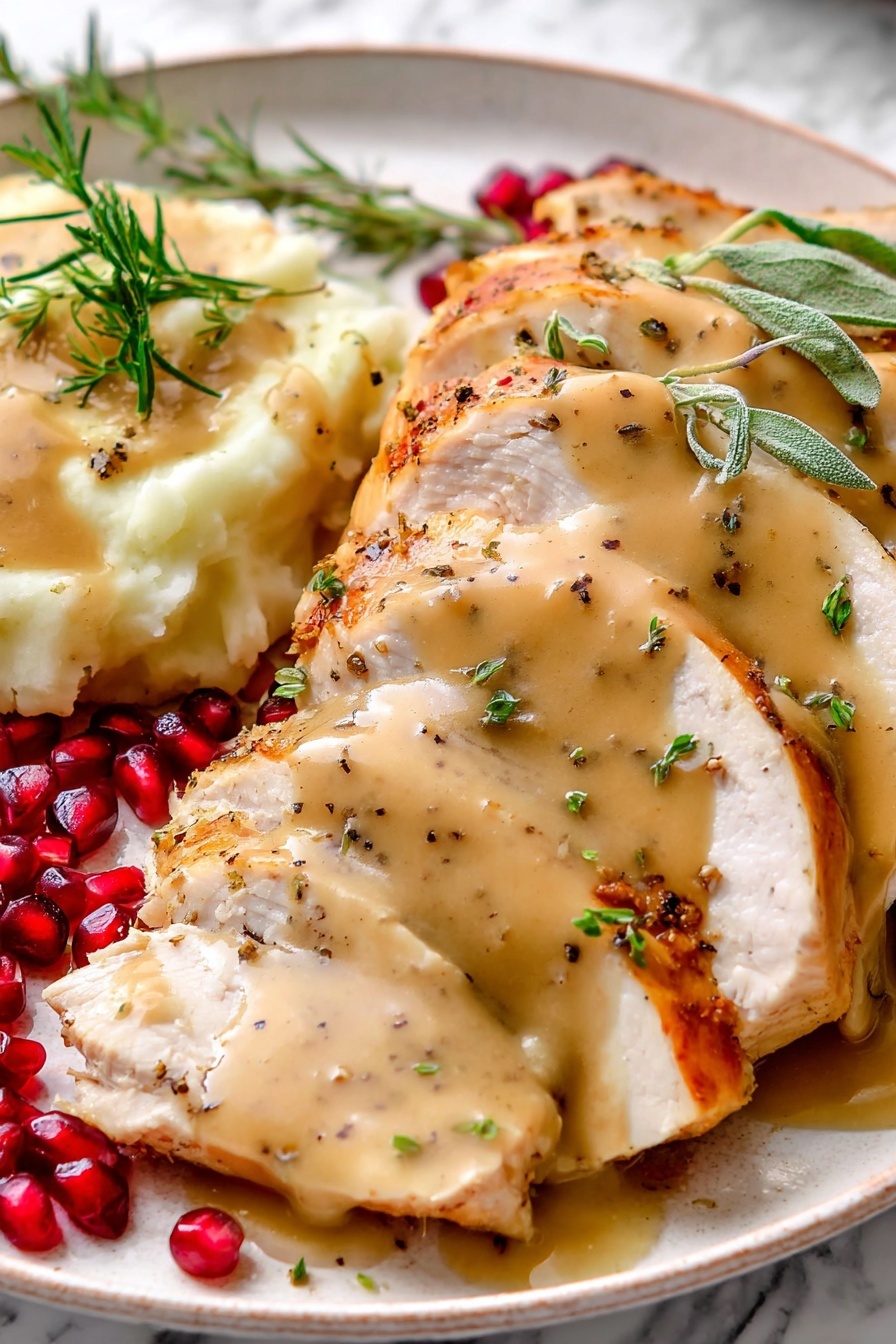
There’s just something magical about the rich, silky texture and deep flavor of a truly classic gravy. This Homemade Turkey Gravy from Drippings Recipe is the secret to that perfect turkey dinner moment where everything comes together—comfort on a plate and joy in every bite.
Jump to:
- Why You'll Love This Recipe
- Ingredients & Why They Work
- Make It Your Way
- Step-by-Step: How I Make Homemade Turkey Gravy from Drippings Recipe
- Top Tip
- How to Serve Homemade Turkey Gravy from Drippings Recipe
- Make Ahead and Storage
- Frequently Asked Questions:
- Final Thoughts
- Homemade Turkey Gravy from Drippings Recipe
Why You'll Love This Recipe
I get it, making gravy from scratch can feel intimidating, especially with the pressure of a holiday meal. But this homemade turkey gravy from drippings recipe breaks it down into simple steps, so you end up with gravy that tastes like it took hours in the kitchen. No shortcuts, just good old-fashioned flavor.
- Rich Flavor: Using the actual turkey drippings means you capture all those browned bits and meaty juices that store-bought mixes can’t touch.
- Simple Technique: It’s basically butter, flour, and your drippings combined carefully to avoid lumps—nothing fancy but totally effective.
- Customizable Seasoning: You’re in control of the herbs and saltiness, so it perfectly suits your taste and the rest of your meal.
- Timeless Comfort: This recipe is my go-to because it feels like home — the kind of gravy that warms your soul and your plate.

Ingredients & Why They Work
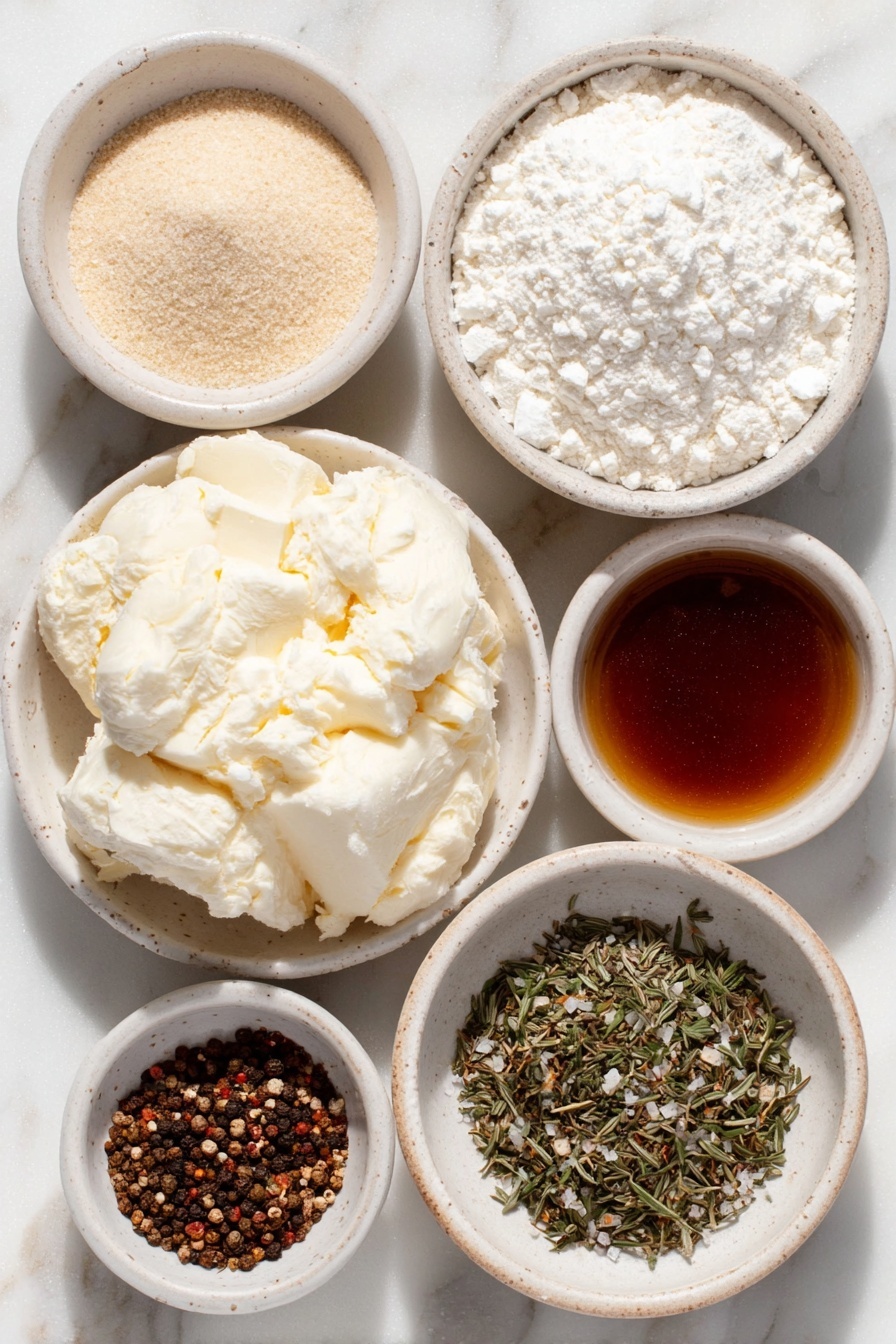
Let’s talk about the stars of the show here. The ingredients are simple, but each one plays a key role in the flavor and texture of your gravy. Plus, knowing why they work helps you get confident making it your own.

- Unsalted Butter: Helps form a golden roux, which thickens the gravy and adds a rich, buttery taste without extra salt.
- Flour: This is your thickening agent — cooking it properly means no lumps and a beautiful smooth gravy.
- Turkey Drippings: The real magic—juices and browned bits from your roasted bird that carry tons of flavor.
- Water: To stretch out those drippings to enough liquid for the gravy without diluting the flavor.
- Seasonings (parsley, garlic, thyme, sage, rosemary, pepper): Fresh or dried herbs balance and enhance the savory profile, adjusting to your preference.
- Granulated Chicken Bouillon (Optional): A handy way to boost savory depth if your drippings are mild or you need extra seasoning.
Make It Your Way
I love to tweak my gravy slightly depending on what sides I’m serving and who’s coming over. You can keep it traditional or get creative—after all, homemade gravy invites personalization!
- Variation: Sometimes I swap part of the butterfly for browned shallots or garlic cooked in the butter to add a slight punch of sweetness and aroma—it’s subtle but elevates the flavor.
- Vegetarian Version: No drippings on hand? Use a rich vegetable broth and mushrooms to mimic that umami kick. I’ve tried it and it works surprisingly well.
- Herb Twists: Try fresh herbs like thyme or rosemary added at the end for a bright note, or a splash of white wine during the simmer for a subtle acidic lift.
Step-by-Step: How I Make Homemade Turkey Gravy from Drippings Recipe
Step 1: Strain and Skim Those Drippings
Once your turkey is out of the roasting pan, pour those drippings through a fine mesh sieve into a fat separator or a large measuring cup. I like to let it sit so the fat rises to the top, then gently skim or pour off the top fat. This gives you a flavorful base without greasy gravy. Don’t rush this step—it’s key to silky gravy.
Step 2: Make the Roux
In a large saucepan, melt your butter over medium-low heat and stir in the flour. Cook and stir this mixture for 4-5 minutes until it turns a toasty, deep golden brown. This browning process is where you build flavor and avoid that raw flour taste. Stir constantly to keep lumps away—it’s worth the gentle whisking.
Step 3: Whisk in the Drippings Slowly
Now reduce the heat to low and slowly pour the drippings into your roux while whisking constantly. This slow introduction prevents lumps and blends those flavors perfectly. If you don’t have enough liquid from the drippings, add water to make 4 cups total. Keep whisking until your mixture is smooth and glossy.
Step 4: Simmer Until Perfect
Turn the heat up slightly to bring the gravy to a gentle simmer. Stir it continuously for 6-8 minutes until it thickens just how you like it. Remember, it thickens more as it cools, so don’t let it get too thick on the stove. If that happens, just whisk in a little water to loosen it up again.
Step 5: Season to Taste
This step is all about you. Taste the gravy and add a pinch of salt, chicken bouillon, or herbs like parsley, thyme, and sage bit by bit. I love sprinkling in garlic powder and pepper at this stage to round things out. Since every turkey and drippings differ, seasoning is where you make the gravy uniquely yours.
Step 6: Keep It Warm Until Serving
Gravy is happiest when it’s warm and freshly stirred. Keep it on low heat and give it a whisk now and then. Serving it in a warm, insulated gravy boat makes all the difference at the table—it keeps the consistency just right while everyone’s digging in.
Top Tip
Having made this gravy dozens of times, I’ve learned little tricks that make all the difference between “just okay” and truly memorable gravy. Here are the best tips from my kitchen to yours.
- Patience with the Roux: Don’t rush the flour cooking stage; it deepens the flavor and prevents that raw taste which always disappoints.
- Slow Liquid Introduction: Pour your drippings or broth slowly while whisking like crazy to dodge lumps and get that glossy finish.
- Taste as You Go: Especially since drippings vary, adding seasonings gradually means you’ll achieve perfect balance without overdoing salt.
- Keep Warm, Don’t Boil: High heat after thickening can break the gravy’s texture, so low simmer is your friend until it’s time to serve.
How to Serve Homemade Turkey Gravy from Drippings Recipe

Garnishes
I usually keep garnishes simple—a sprinkle of fresh chopped parsley adds a pop of color and a fresh herbal note that’s inviting. Sometimes a few whole thyme sprigs or a twist of cracked black pepper on top can elevate the presentation for guests without overpowering the flavor.
Side Dishes
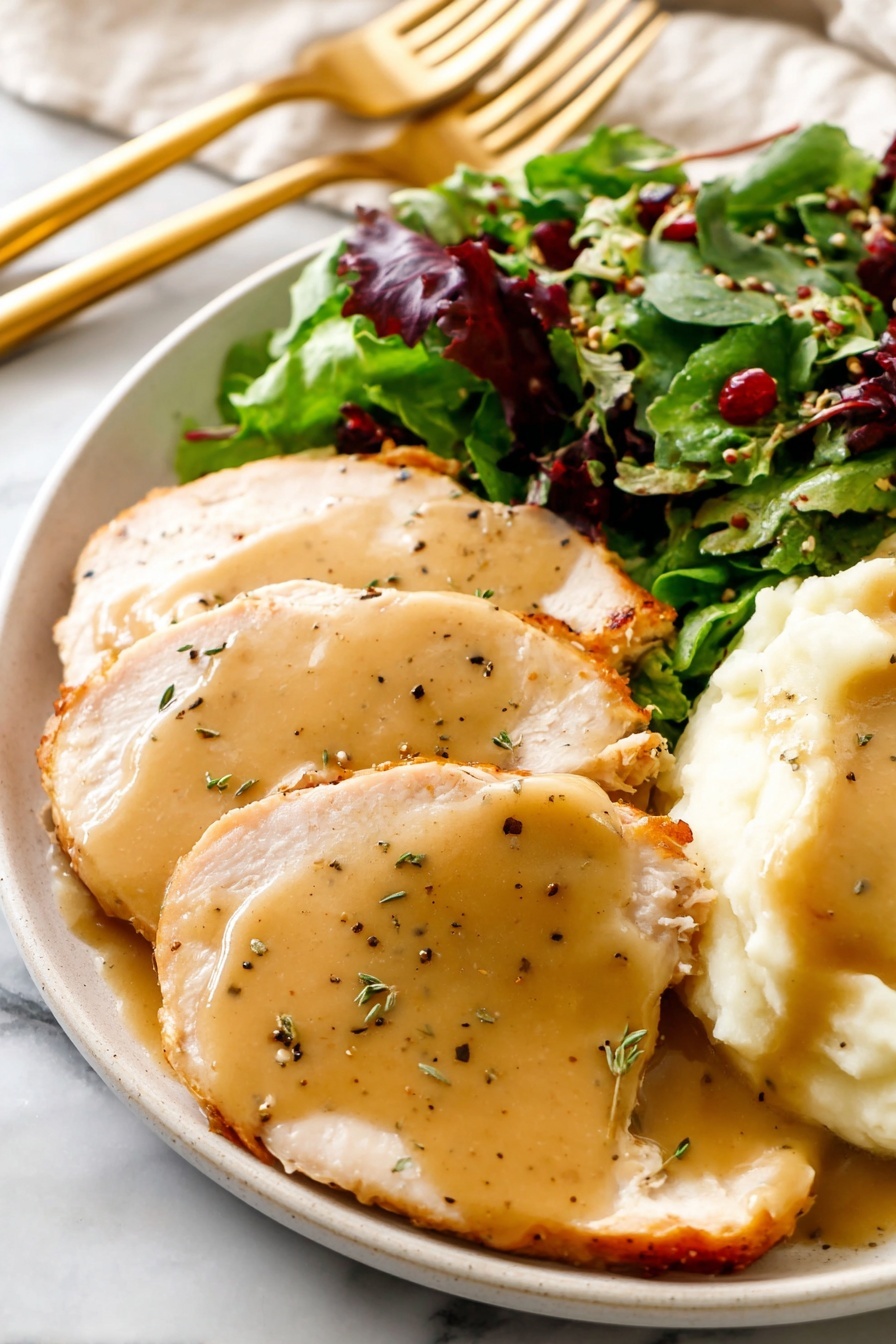
This turkey gravy is a dream poured over classic mashed potatoes, roasted root veggies, or even simple steamed green beans. It’s also fantastic with stuffing or cranberry sauce on the side—a staple for Thanksgiving but honestly perfect any time turkey graces the table.
Creative Ways to Present
For special occasions, I like serving gravy in a small cast iron pot or vintage gravy boat on a wooden board surrounded by freshly roasted herbs. It feels festive and adds a rustic charm that guests always comment on. Plus, it keeps the gravy warmer longer.
Make Ahead and Storage
Storing Leftovers
After the meal, if you have leftover gravy, transfer it to an airtight container and pop it in the fridge. It stays good for up to four days, which is perfect if you want to enjoy those turkey sandwiches or leftover potatoes with gravy during the week.
Freezing
I’ve frozen leftover turkey gravy successfully by placing it in freezer bags with the air pressed out. It keeps well for up to three months. Just thaw overnight in the fridge before reheating, and you’ll have smooth gravy ready for another meal.
Reheating
Reheating gravy is best done gently on the stovetop over low heat. Stirring constantly helps it regain that silky texture. If it thickens too much after chilling, add small splashes of water while whisking to bring back the perfect pourable consistency.
Frequently Asked Questions:
Absolutely! You can substitute turkey drippings with good quality chicken broth and add herbs and seasoning to replicate the flavor. While it won’t have the exact depth of drippings-based gravy, it still makes a delicious sauce for your turkey and sides.
The key to lump-free gravy is cooking your roux (butter and flour) until golden and slowly whisking in your liquid. Whisk constantly and add the liquid gradually to keep everything smooth.
You can prepare the roux and strain the drippings in advance, but I recommend finishing the whisking and simmering steps just before serving for the best texture and flavor. Leftover gravy can be refrigerated or frozen for later use.
If your gravy gets too thick, simply whisk in a splash of hot water until you reach your desired consistency. If it’s too thin, let it simmer a little longer while stirring until it thickens up.
Final Thoughts
This Homemade Turkey Gravy from Drippings Recipe is one of those simple yet transformative parts of a meal that you'll be proud to bring to the table year after year. It’s a recipe built on tradition, flavor, and a little patience that rewards with warmth and comfort. I hope it becomes a staple in your kitchen as it has in mine—because nothing beats that first pour over fluffy mashed potatoes and tender turkey. Happy cooking!
Print
Homemade Turkey Gravy from Drippings Recipe
- Prep Time: 5 minutes
- Cook Time: 15 minutes
- Total Time: 20 minutes
- Yield: 2.5 cups
- Category: Sauce
- Method: Stovetop
- Cuisine: American
Description
This Homemade Turkey Gravy recipe uses flavorful turkey drippings to create a rich, golden gravy perfect for enhancing your holiday turkey or any poultry dish. It offers two variations: one using drippings for an authentic taste and one without drippings for convenience. The gravy is thickened with a roux made from butter and flour, seasoned to taste, and simmers to a silky texture that's perfect for pouring.
Ingredients
Turkey Gravy With Drippings
- 6 tablespoons unsalted butter
- ⅓ cup plus 1 tablespoon all-purpose flour
- 4 cups turkey drippings plus water as needed
- Granulated chicken bouillon, as needed (optional)
- Seasonings as needed (dried parsley, garlic powder, onion powder, dried thyme, ground sage, dried minced rosemary, pepper, salt)
Turkey Gravy Without Drippings
- 6 tablespoons unsalted butter
- ⅓ cup plus 1 tablespoon all-purpose flour
- 4 cups reduced sodium chicken broth
- 1 teaspoon chicken bouillon (granulated, crushed cube or base)
- 1 teaspoon dried parsley
- ½ teaspoon garlic powder
- ¼ teaspoon onion powder
- ¼ teaspoon dried thyme
- ¼ teaspoon pepper
- ⅛ teaspoon ground sage
- ⅛ teaspoon dried minced rosemary
- Salt to taste
Instructions
- Strain the Drippings: Strain turkey drippings from the roasting pan through a fine mesh sieve into a fat separator or a large freezer bag to remove solids and separate fat. Discard solids caught in sieve.
- Degrease the Drippings: Let drippings rest to separate fat. Seal the freezer bag and cut a small corner at the bottom to drain liquid (without fat) into a measuring cup until 4 cups are collected or fat appears.
- Adjust Liquid Volume: Add water to the drippings in the measuring cup to make a total of 4 cups if necessary.
- Make the Roux: Melt butter in a large saucepan over medium-low heat. Add flour and cook for 4-5 minutes, whisking constantly until deeply golden, to prevent lumps.
- Incorporate Drippings or Broth: Reduce heat to low. Slowly whisk in the turkey drippings or chicken broth for the no-drippings version, stirring constantly until no lumps remain.
- Simmer and Thicken: Bring the mixture to a simmer while whisking constantly. Simmer for 6-8 minutes until the gravy thickens to desired consistency. Add water if too thick.
- Season the Gravy: For drippings gravy, start with ¼ teaspoon granulated chicken bouillon and adjust salt and seasonings like dried parsley, garlic powder, onion powder, thyme, sage, rosemary, and pepper to taste. For no drippings gravy, add bouillon and all seasonings with the broth, taste, and season with salt and pepper as needed.
- Keep Warm Before Serving: Keep gravy warm over low heat, stirring often to maintain smoothness. Serve in an insulated gravy jug if available.
- Adjust Thickness Before Serving: If gravy thickens as it cools, gently reheat over medium-low heat and whisk in additional water until the desired consistency is restored.
Notes
- Store leftover gravy in an airtight container in the refrigerator for up to 4 days.
- Freeze gravy in airtight containers or freezer bags, removing excess air, for up to 3 months.
- To reheat, gently warm gravy in a saucepan, adding water as needed to thin and whisk until smooth.
- Whisking the roux for 4-5 minutes is essential to avoid lumps and achieve a deep golden color for better flavor.
- Use a fat separator or freezer bag method for degreasing turkey drippings to make a more refined gravy.
Nutrition
- Serving Size: ¼ cup
- Calories: 90 kcal
- Sugar: 0 g
- Sodium: 150 mg
- Fat: 6 g
- Saturated Fat: 3.5 g
- Unsaturated Fat: 2 g
- Trans Fat: 0 g
- Carbohydrates: 7 g
- Fiber: 0.3 g
- Protein: 0.3 g
- Cholesterol: 15 mg


Leave a Reply